A lot of homeowners enjoy the process of tearing down an interior wall before they renovate their home. You get to take a sledgehammer and just go crazy with it on your wall, smashing it to pieces. If you have never torn down a wall before, you might think it is a huge task to do you can always rely on a handyman to get any renovations complete. Sometimes, homeowners don’t even think of it as an option because it just seems so reckless and destructive. But if you have a unique floor plan that doesn’t agree with your existing interior, then you’ll need to make some big alterations to the look and design of it. Don’t be afraid to break down any wall that you don’t need. Just be sure of your choice because there is no going back afterward.
Seriously, how can I safely tear down my wall?
Load-bearing Wall
If you are going to break down a particular wall, make sure it is not a load-bearing wall. If you make the wrong choice and tear down a load-bearing wall, your entire home could collapse. If you are unsure, have a structural engineer or contractor give you the proper information.
Remember that all houses are different. Building regulations change frequently. This means older structures are conforming with older building regulations and not the most recent ones. So, you can’t figure this all out yourself. Even if you knock on a wall and it seems hollow, it could potentially be a load-bearing wall if it is made form plasterboards and timber studs.
The breadth and length of the wall need to be examined. This will require you to go in back of the plasterboard, into the basements, and below the floorboards. Again, use a professional for these tasks. If you find that a wall you want to tear down is a load-bearing wall, a professional contractor should do the job instead.
Partition walls are only meant for separating rooms. They have no effect on the structure of the home.
Inside the Walls
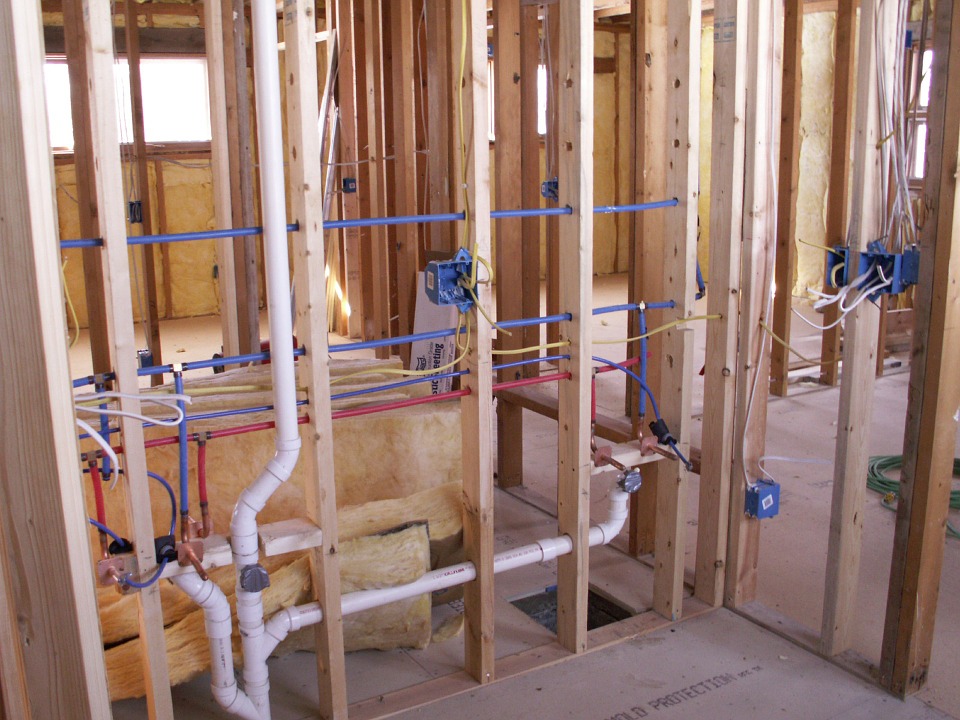
There could be many things inside your walls, such as electrical wires, pipes, and/or air vents. If you smash your walls without knowing what’s inside them, it will create all kinds of problems.
An easy way to figure this out is to look at the wall and see if there is a thermostat or light switch there. You can also use an A/C voltage detector and scan the walls for electrical currents with it. If you detect a current, then you need to be more careful. Don’t use a sledgehammer. There is another type of device for detecting pipes too.
The Start
Before working, turn off all the water, power, and gas in the house. Take down anything that is attached to the wall, such as ceiling moldings and skirting boards. You can do this job easily with a crowbar or prybar.
With a utility knife, cut out a small portion of the wall that you want gone. You need to be accurate here, so use a pencil, ruler, and spirit level for precision in your plan. A utility knife is good for cutting drywall and paper. That way, you can remove what you want and leave the rest unharmed.
The Challenging Part
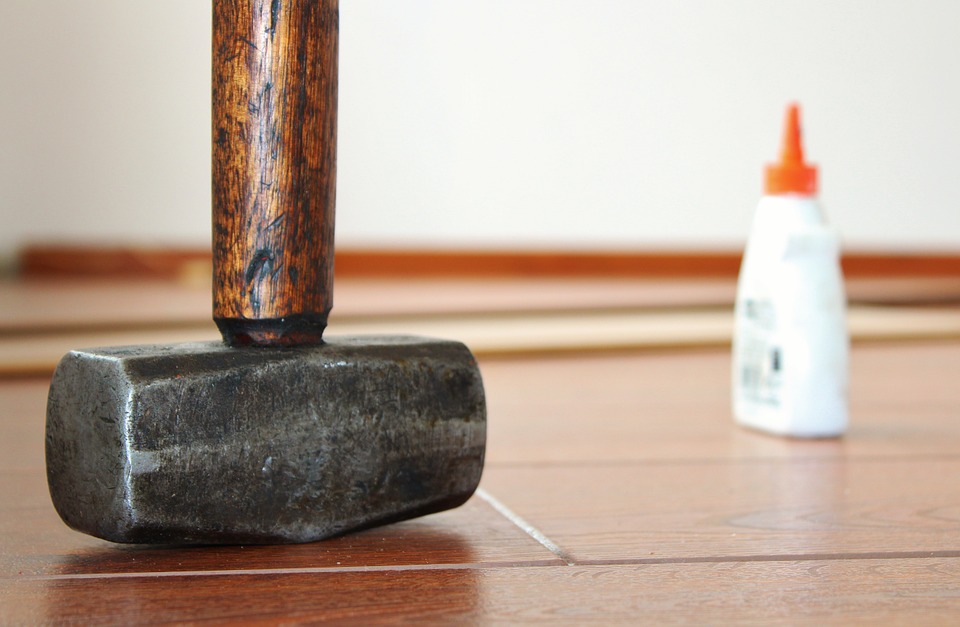
Use a hammer on the outer portion of the drywall to punch a beginning hole in it.
Be careful of studs. These are those lengthy wooden slats which make up the wall’s skeleton. You can worry about this later, though. For now, break through the wall with the hammer until you get to the scored line that you made. If the hammer hits a stud, do not panic. Just hammer around it and continue on. As you get closer to the scored line, be extra careful because you’ll want the edge to be clean.
A saw is good to use as well. Place the saw into the beginning hole of the drywall and use it to cut big panels from out of the drywall. Saws are great for people who want to limit the mess that is made. Hammers cause more of a mess, but they are fun too. If your drywall is nailed to the studs, then you need to take extra caution with the hammer.
After you have gotten off the drywall, you will see the interior of the drywall on the opposite side as well as the studs. Do not touch the studs. Take down the drywall on the other side. Learn what is on that side; usually it is plastic sheets.
In Conclusion
Cut away the studs with a reciprocating saw. Place the saw in the middle to start it, and then them down the middle in half. Grab the stud and pull it away or toward you. By doing this, you will know how it is connected to the ceiling or floor. It may be toe-nailed or nailed straight.
After you take off the nails, that should be it. The wall is now gone completely. Many people don’t do this perfectly and that is okay. You’ll just need to add some paint to the adjoining ceilings and/or walls. Use a spirit level to analyze your cut-out wall one more time. This will let you see how great your outline has been kept. You can level anything with replacement drywall.